How Do I Safely Wash My Car?
What is a safe wash process?
If you care about how your car looks then this is the blog for you, if you’re into detailing or just love the swirl-free, glossy look of your paint then safely washing your car is the most important part of maintaining that finish.
Incorrect washing techniques can lead to inflicting love marks, swirl marks and scratches in your paint. I’ll give you 5 tips on how to ensure your cars paintwork is looking its best after a wash a little later.
Cleaning a car is often overlooked as a less important stage of detailing, especially if you’ve been researching paint correction and ceramic coatings. Washing your car can feel like the first insignificant step but in reality it is the fundamental step that will enable better correction or preparation before coating. This is further enhanced if your car is already polished or protected by a ceramic coating, and you’ve invested time or money in a paint finish you want to maintain.
You’ve already completed the first step of safely washing your car because if you’re reading this you are giving that roadside, local hand car wash a miss and getting stuck in yourself. A safe wash is the process that will maintain the finish of your car.
So how do you safely wash your car?
It is all about breaking the process down into steps. Think of this as your game plan to achieve the ultimate safe wash.
Step 1: Pre-wash
The start of this process is removing as much sand, dirt, debris and grime before you even think about touching your car with a wash mitt.
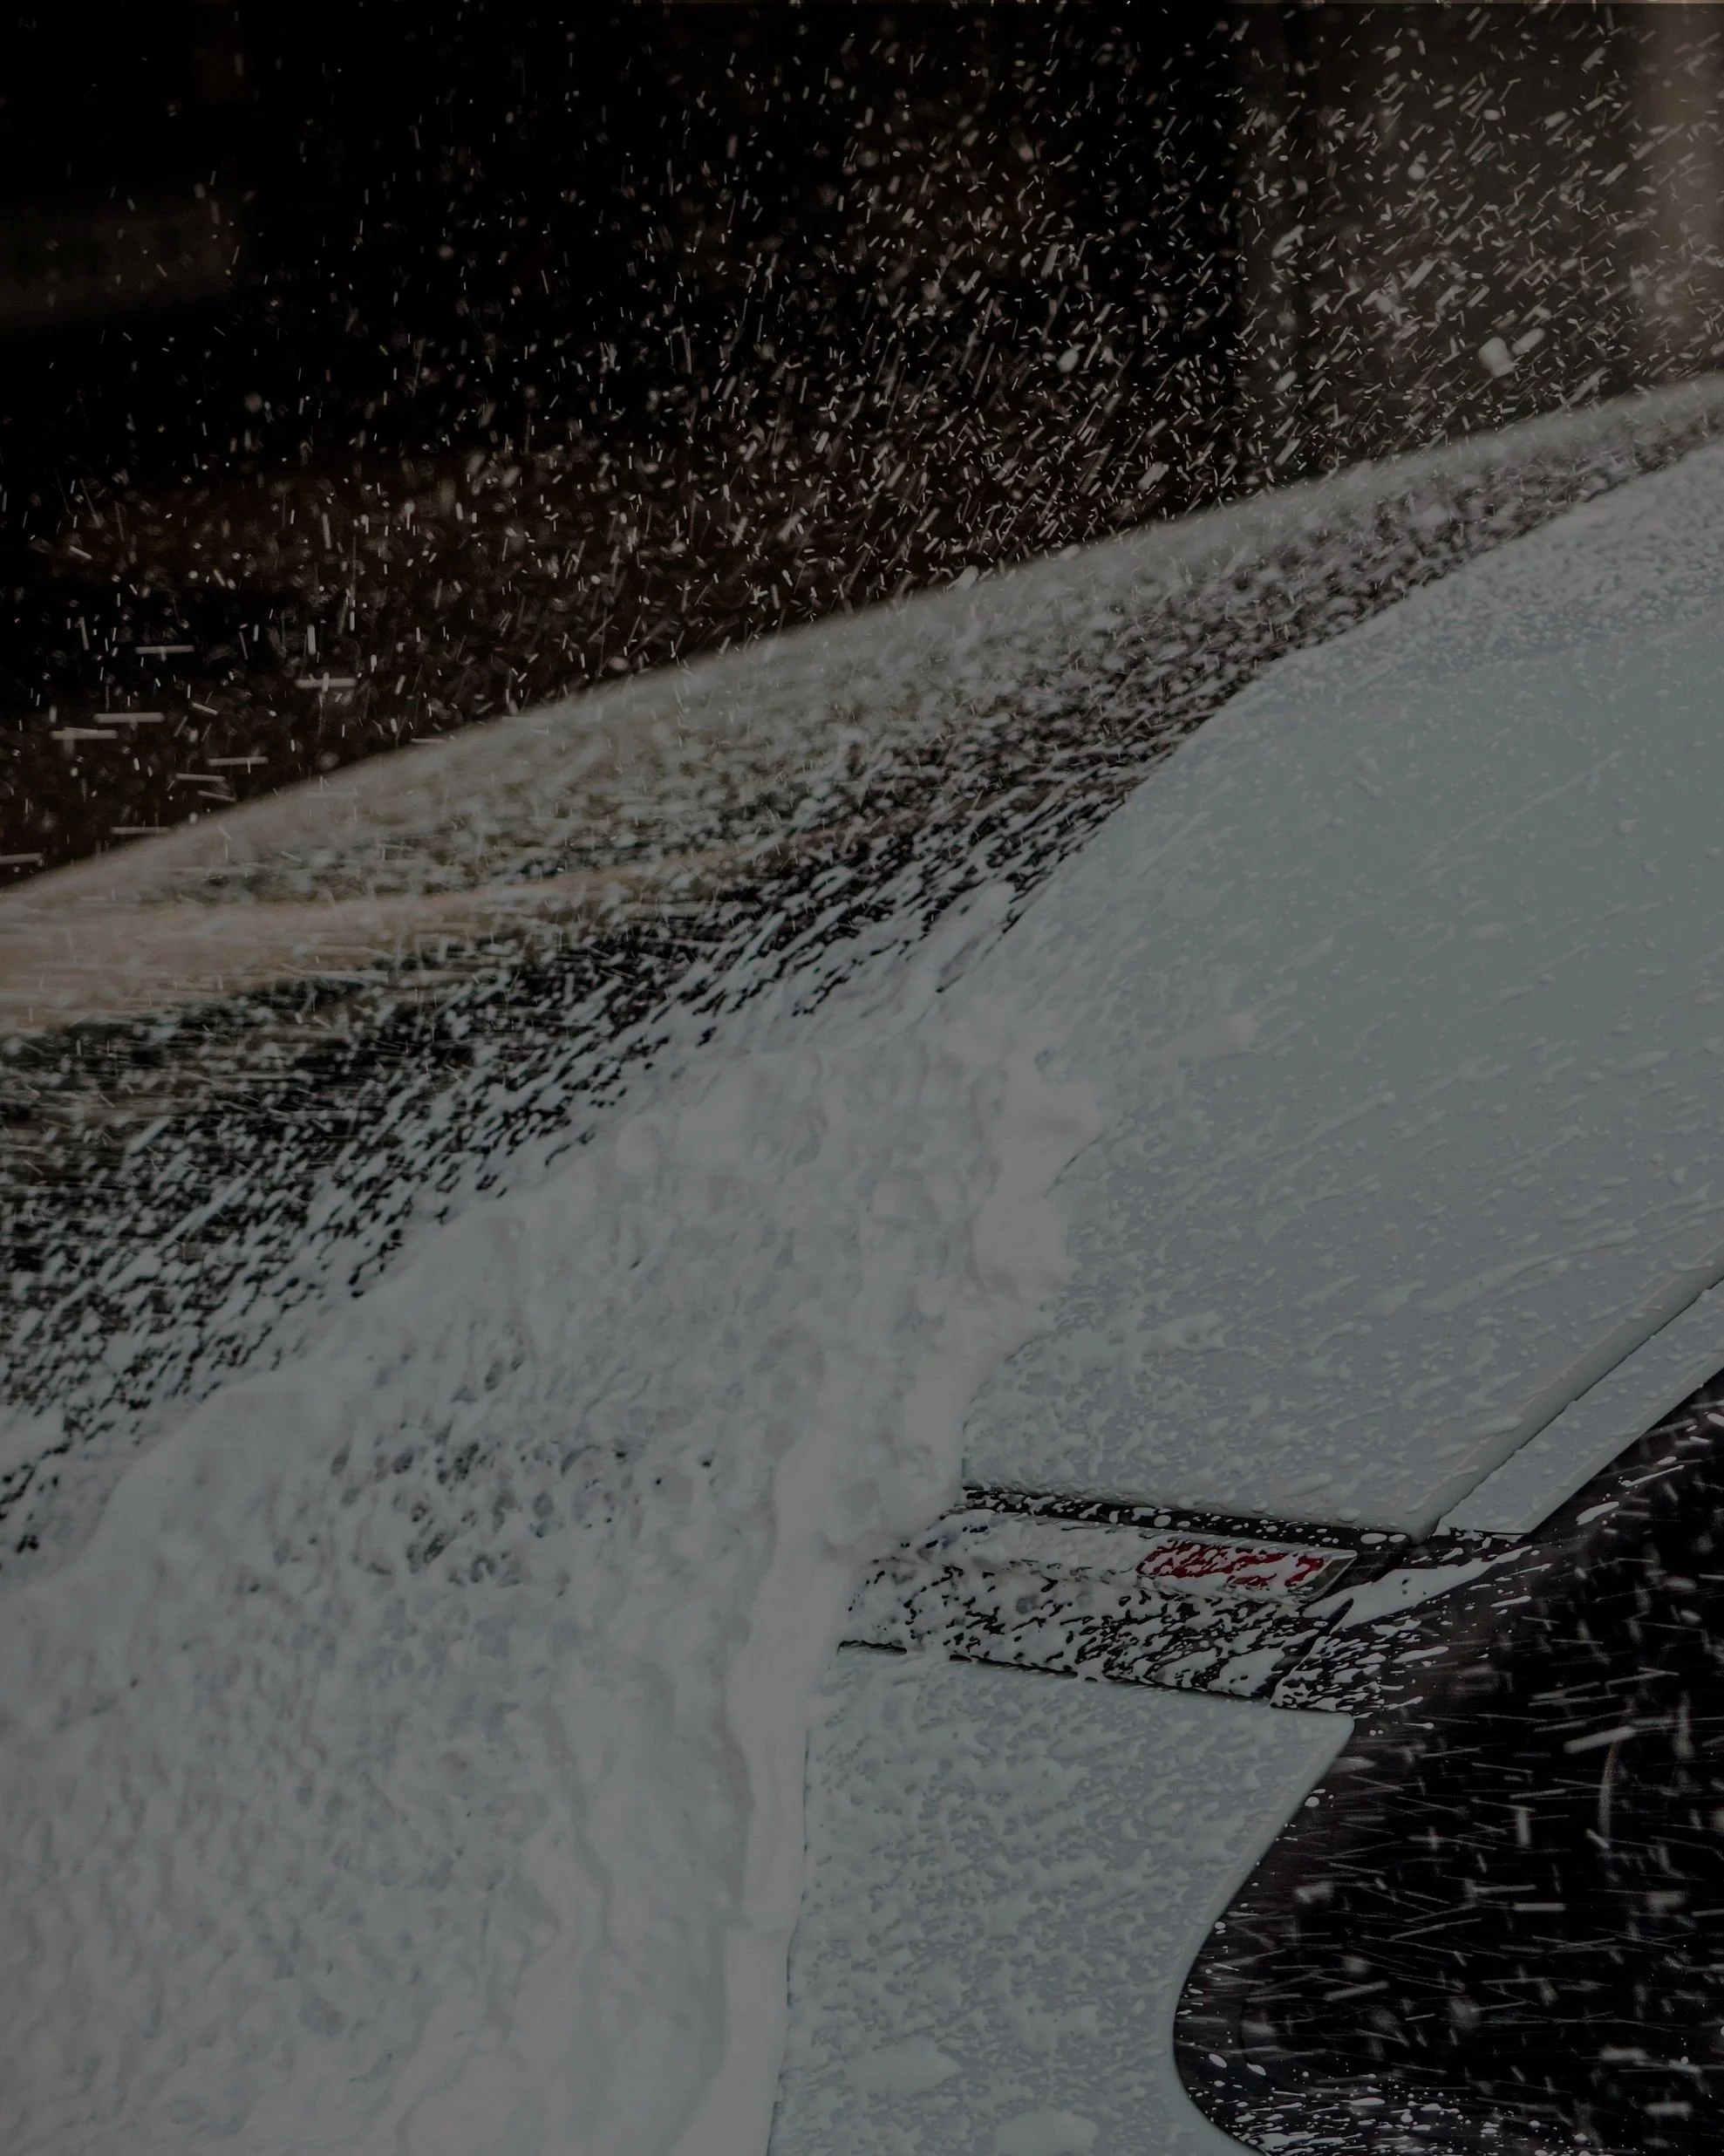
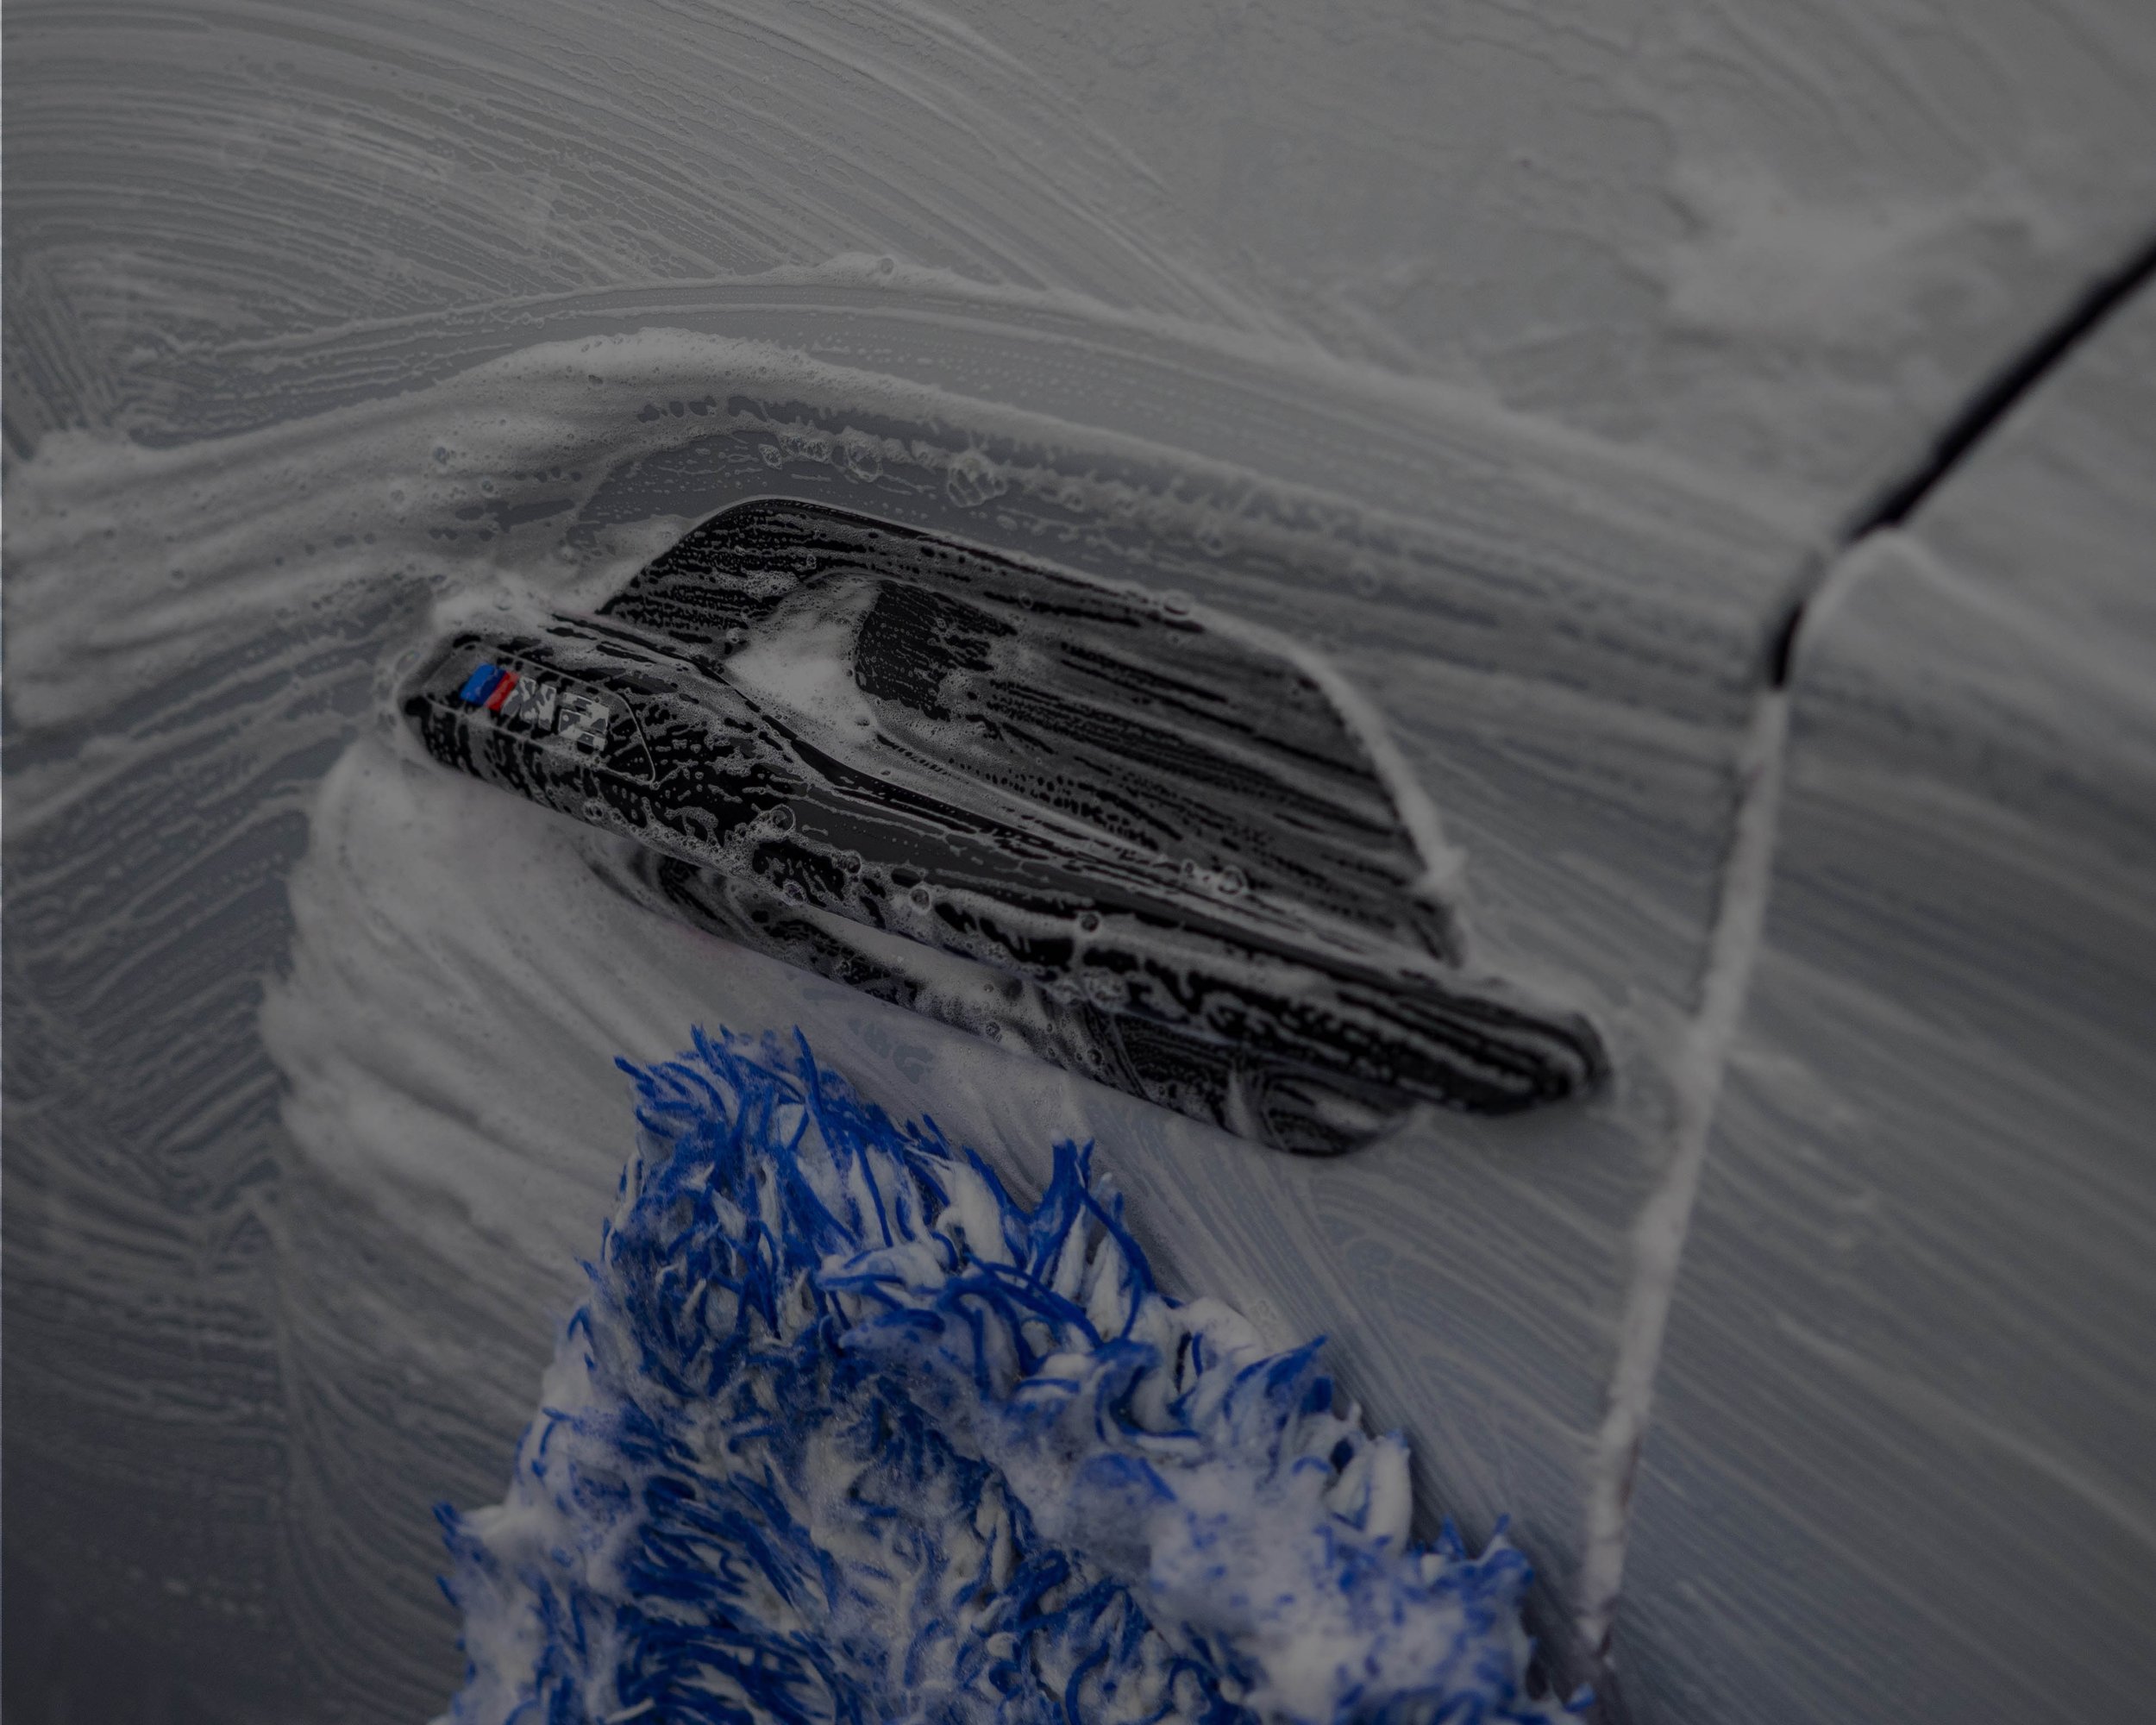
For the best results here we recommend a pressure washer and a snow foam lance to create a thick blanket of foam which will cling to your vehicle and pull larger particles and contamination off your paintwork whilst softening any dirt that is left behind.
Leaving snow foam to dwell for 5-10 minutes will allow the foam to work, making it easier to rinse away harmful particles.

Top tip;
Make sure you cover your wheels in snow foam, this will make cleaning them easier later on.
For really dirty wheels we like to apply a citrus-based pre-wash before covering them in snow foam. Citrus is an additional product designed to further soften and remove contamination before contact cleaning.
Step 2: Rinse
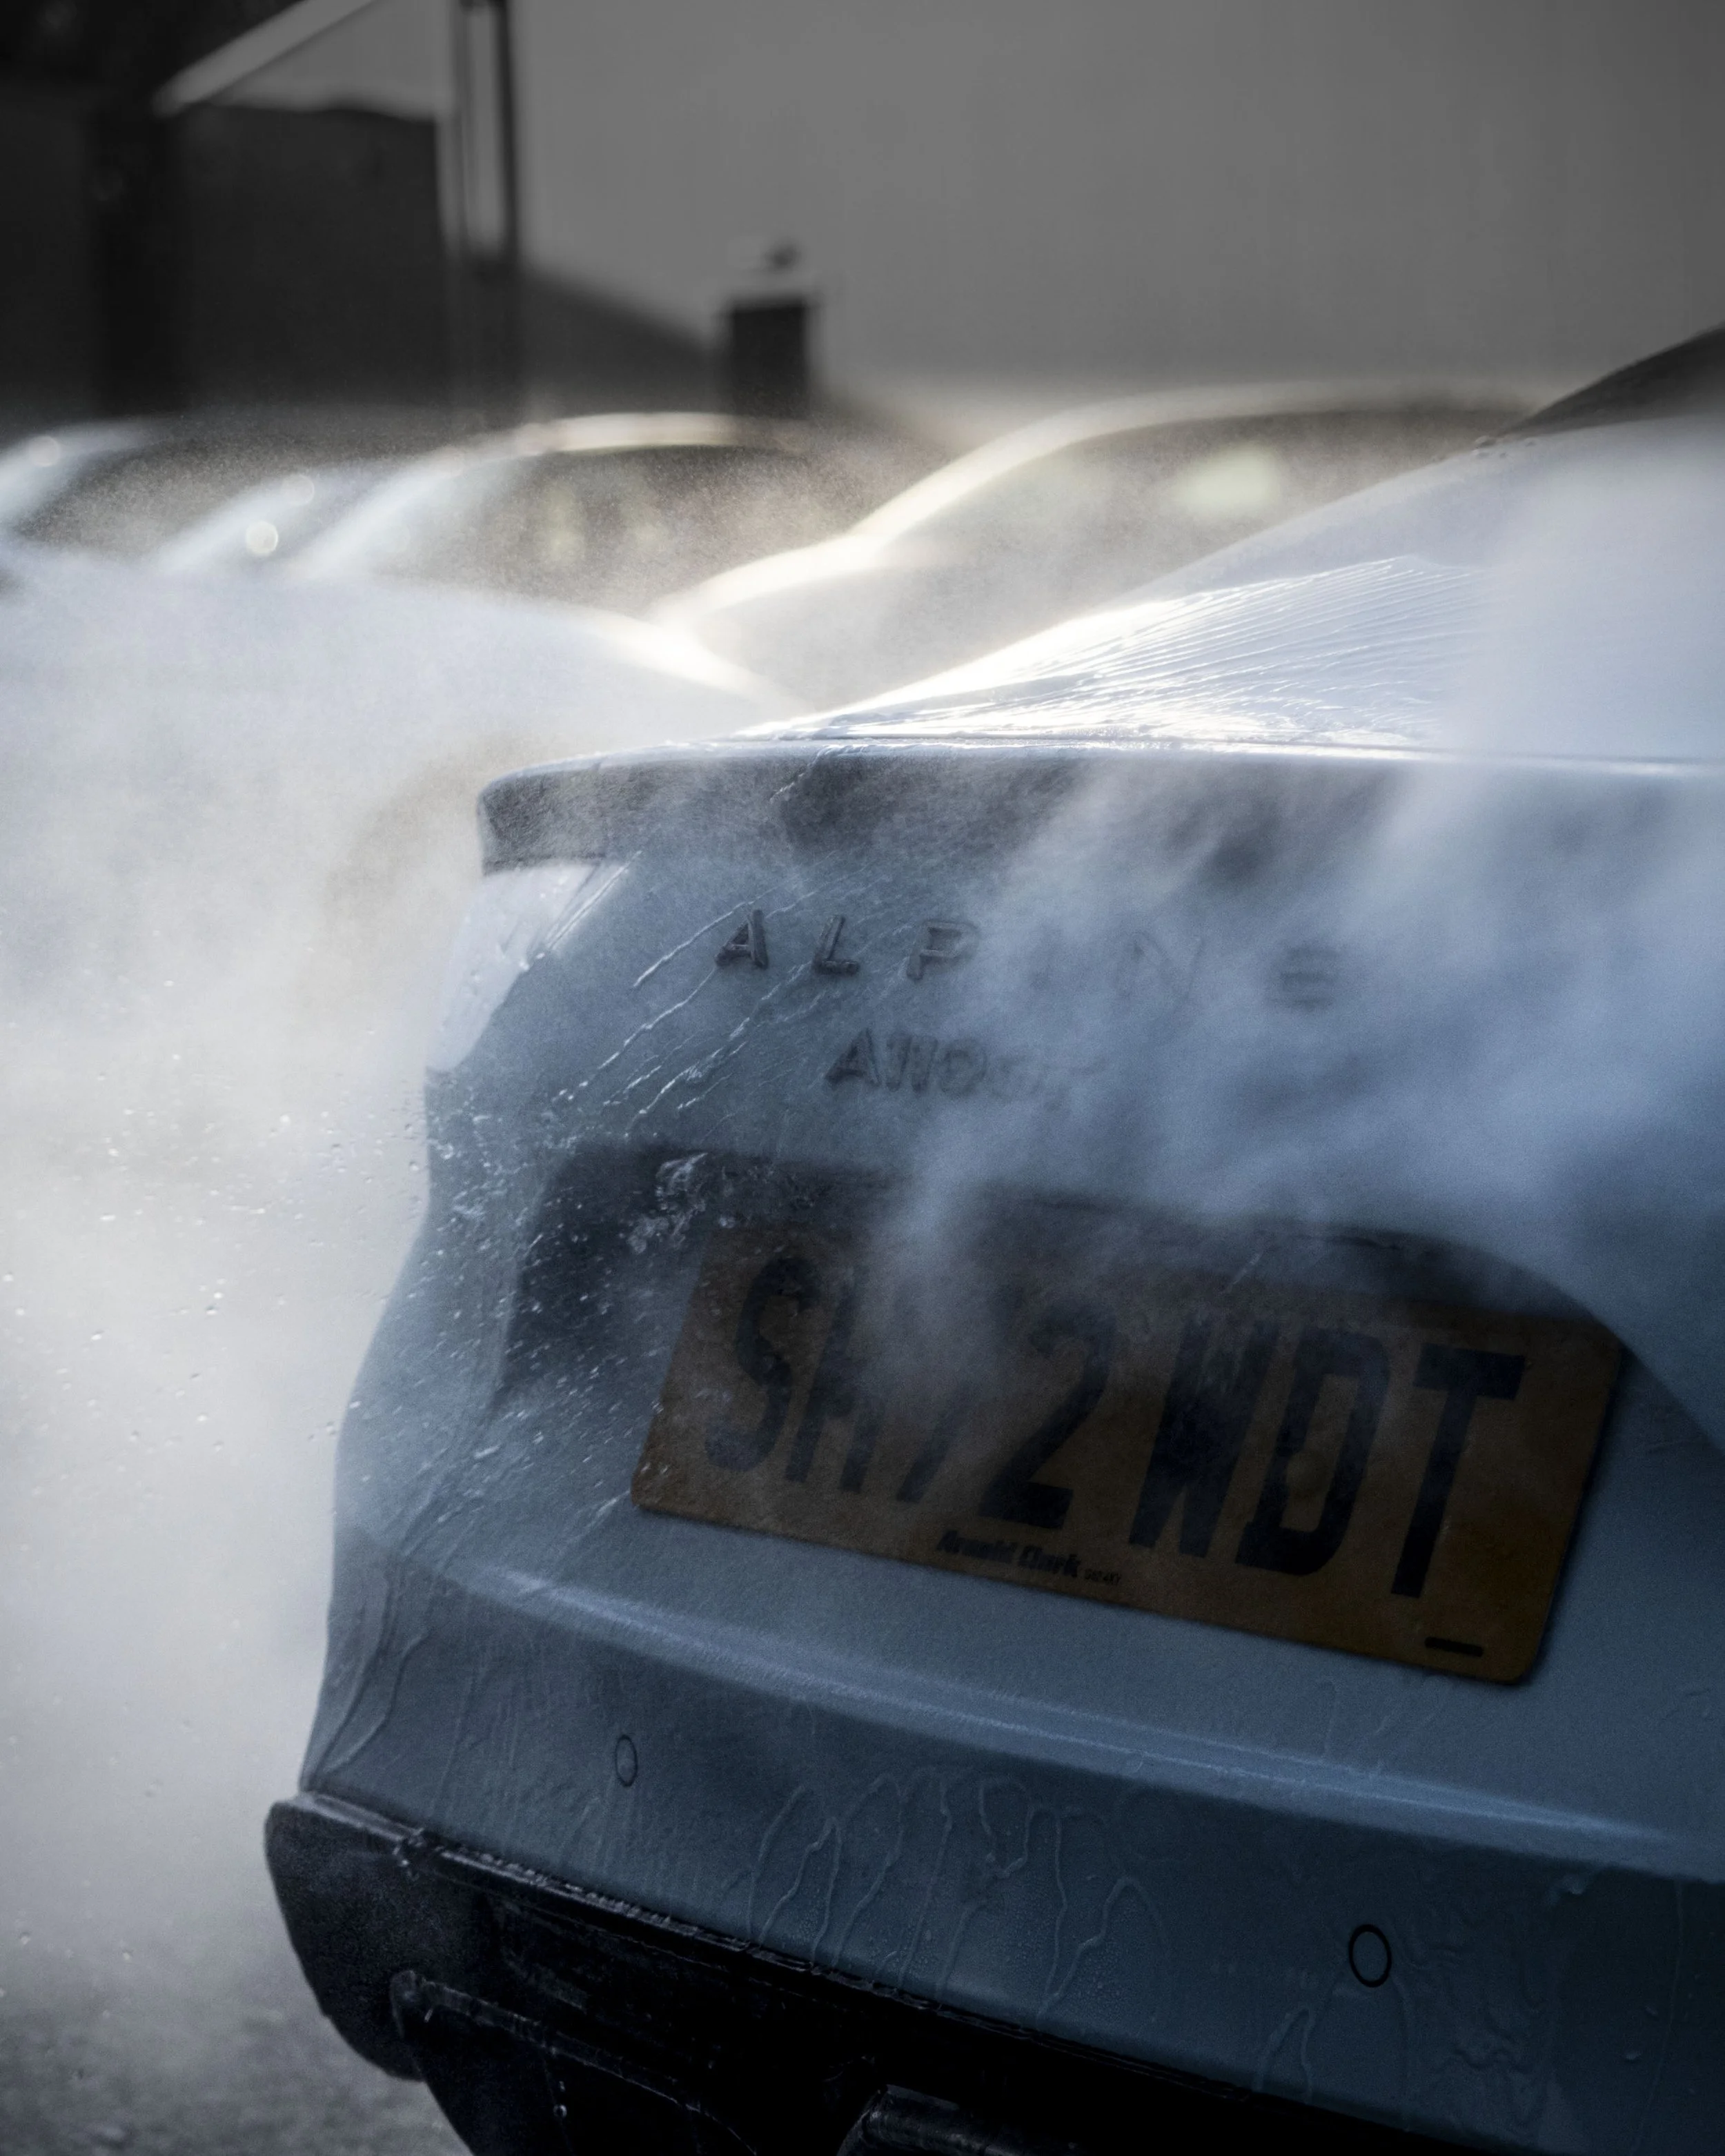
After the snow foam has been dwelling on your paint for 5-10 minutes, you’ll see the foam start to change colour as the dirt is lifted away and larger particles are removed from the car. It’s satisfying stuff. Once it has had enough time you can start to rinse the entire car.
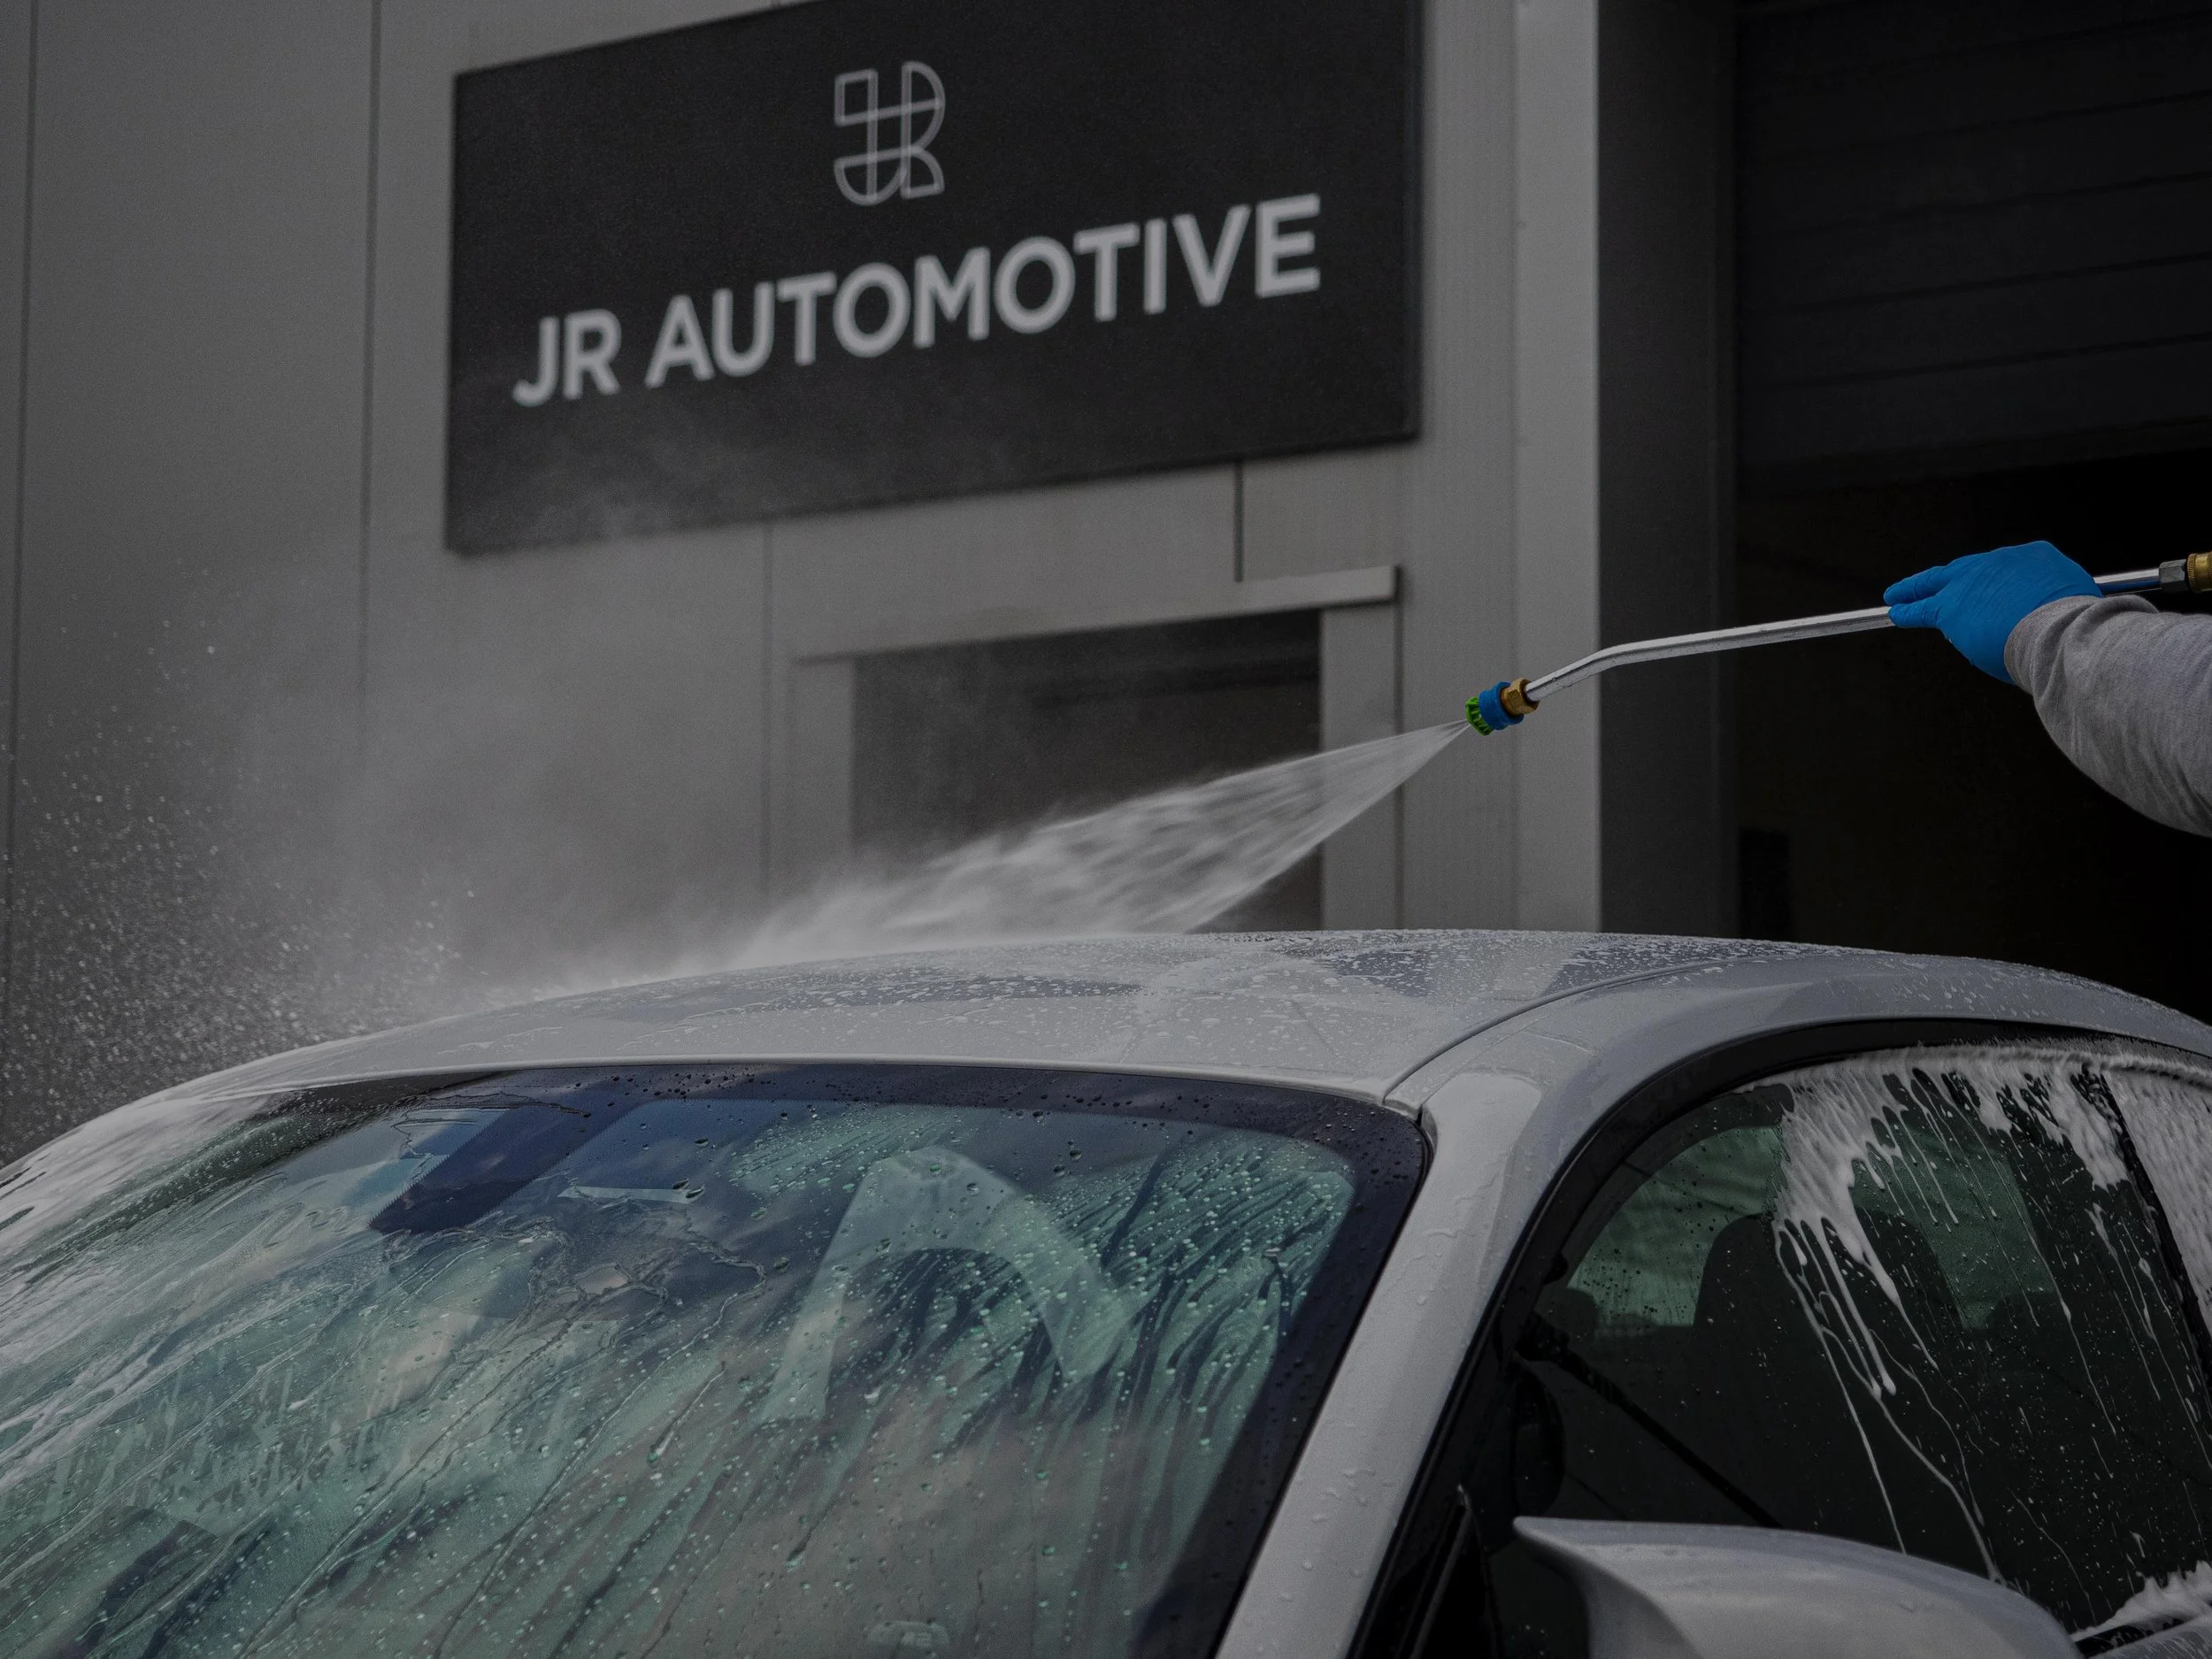
The main focus of this is to remove the foam and dirt from your car. You will be amazed by the dirt removal. The results are best when you use a pressure washer but remember not to get too close to the paintwork.
Start off rinsing the wheel arches, then the wheels before you move onto the paintwork. Make sure to rinse from the top of the car, working your way down. Decent water pressure focused on sections of a panel at a time will work wonders.
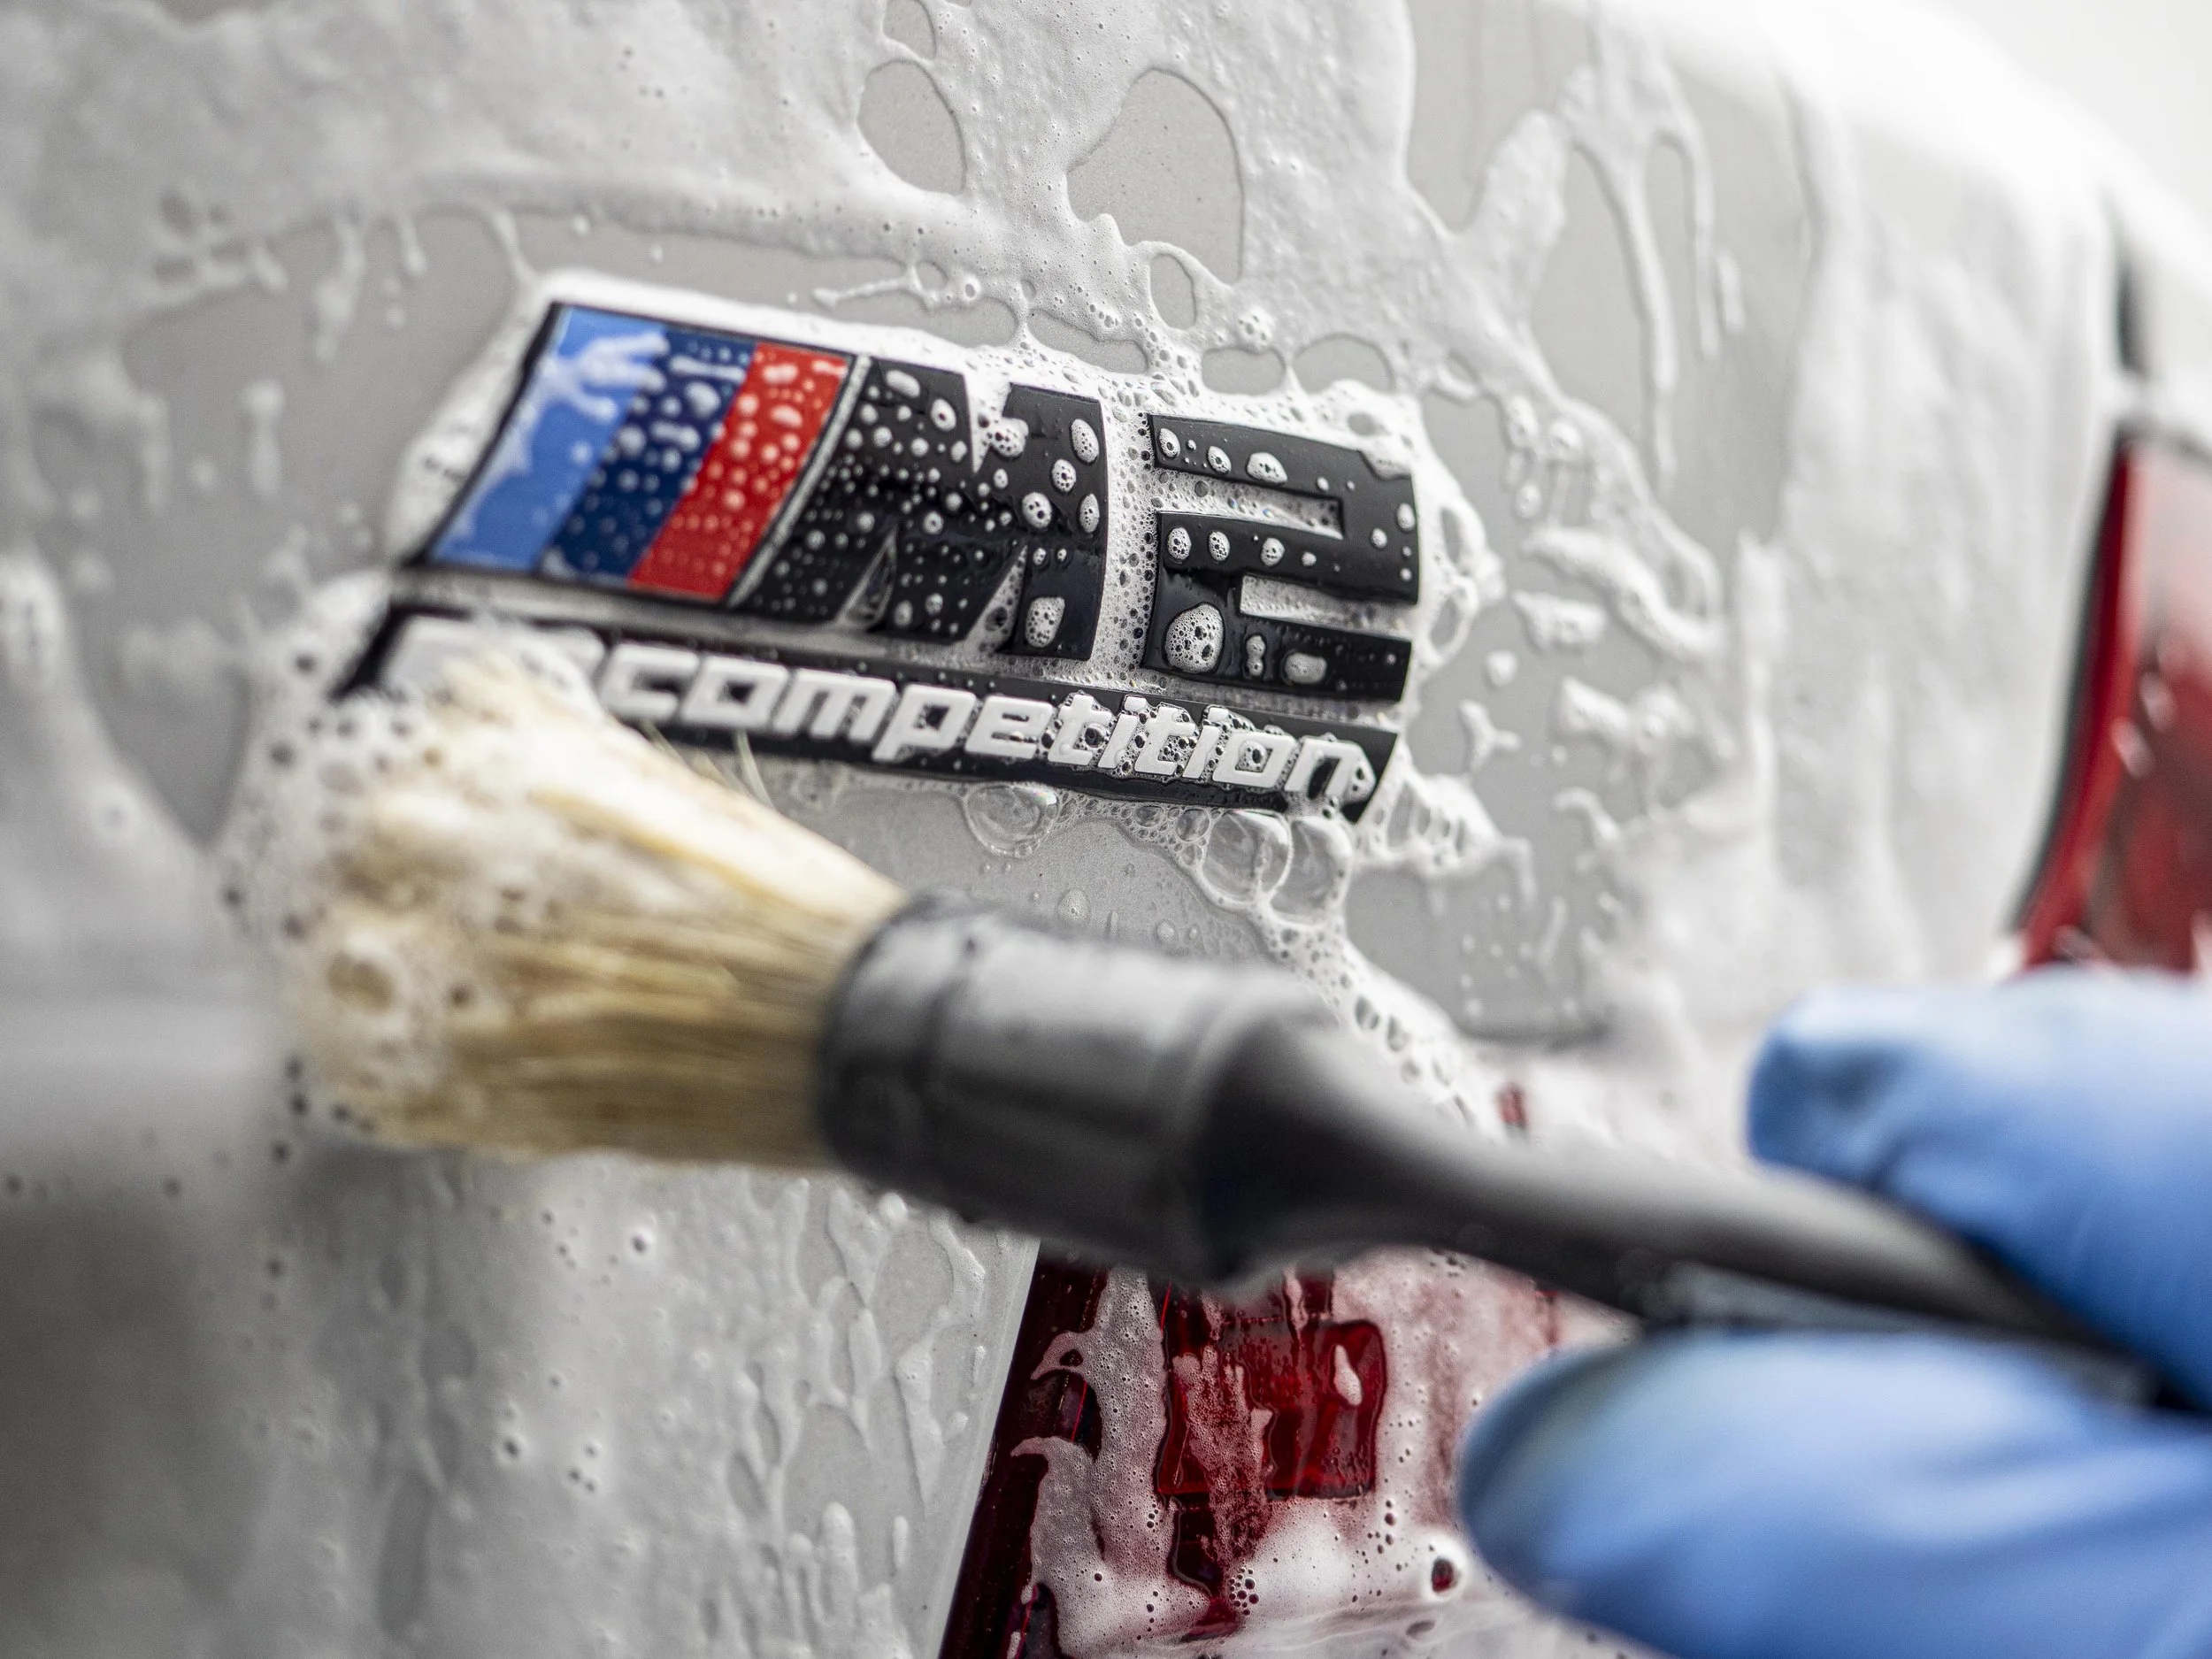
Top Tip;
Whilst the snow foam is dwelling it’s a great time to use a soft brush on the tight spots to lift dirt from areas such as around badges.
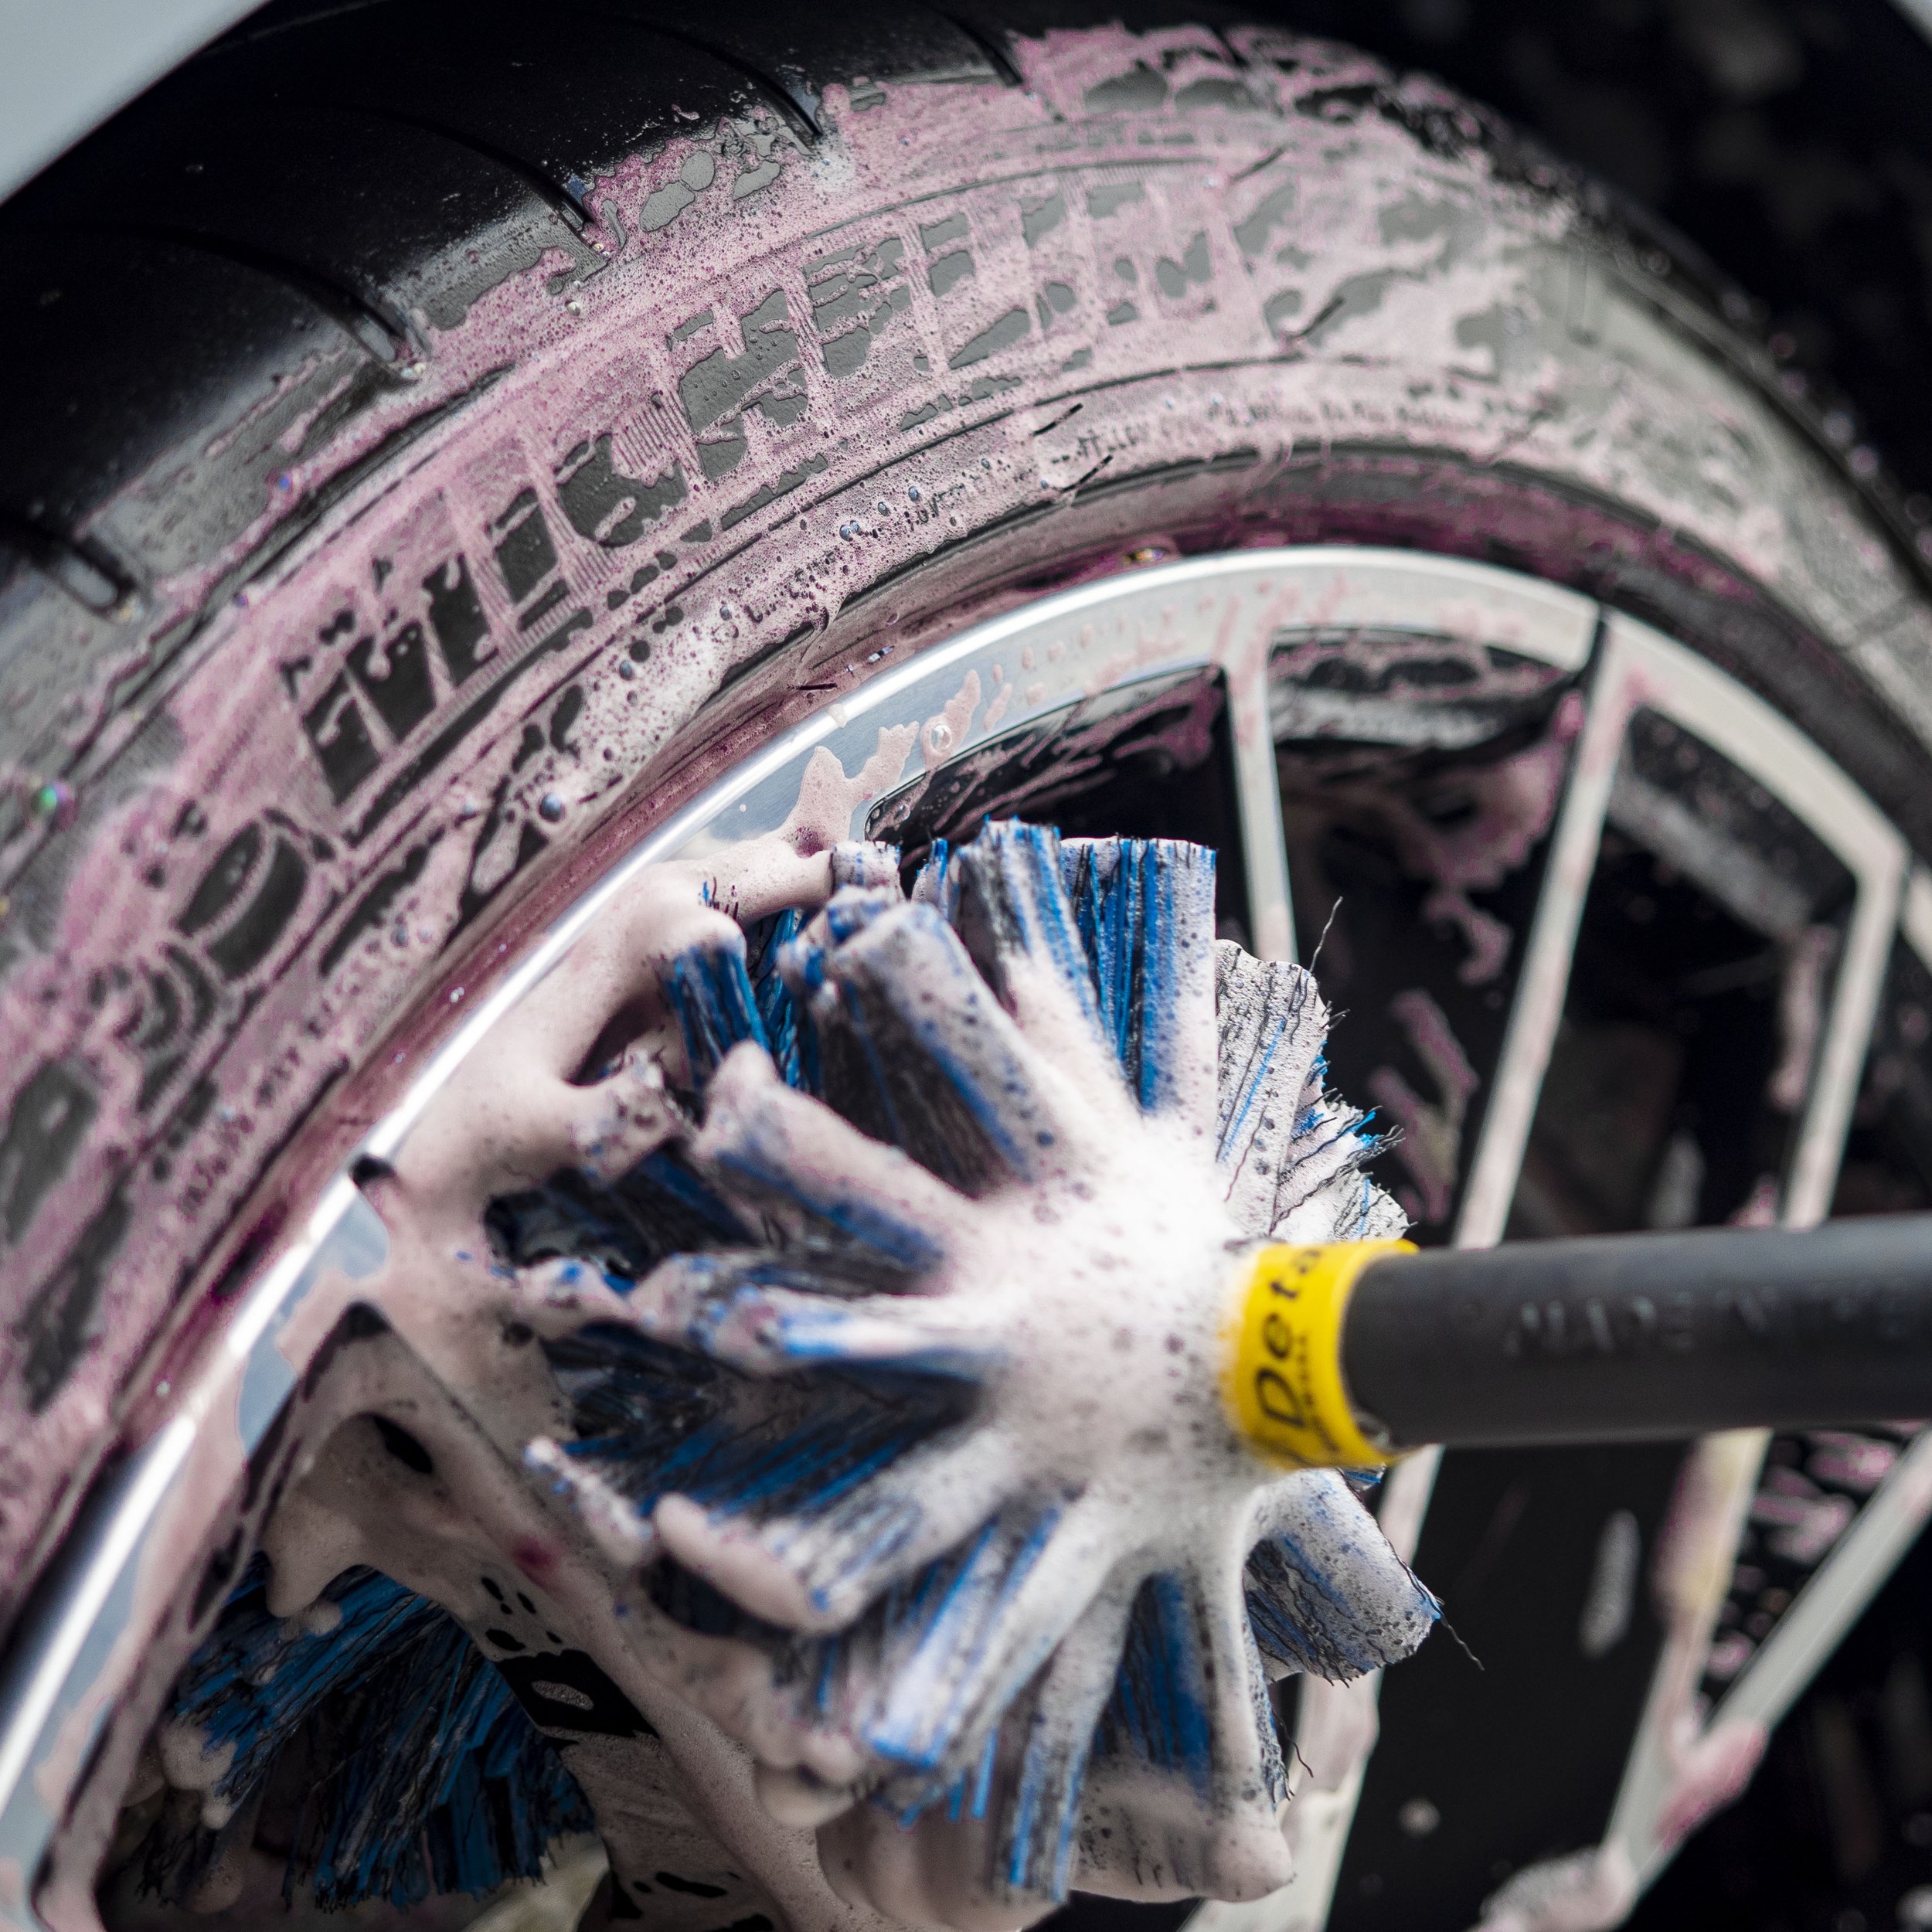
Step 3: Wheel Cleaning
Using the right products is important here, the market is filled with acid or alkaline based cleaners which strip off any wax protection or sealants. This can be exaggerated and in certain scenarios we have seen lacquer being stripped off the wheel face from previous incorrect product use. That’s why using a fallout remover and pH neutral wheel cleaner is important. We recommend Bilt Hamber Korrosol, followed by a good all purpose cleaner (APC), such as Surfex-HD, if required. The fallout remover reacts with harmful iron fallout to make it easier to remove as well as any dirt and debris. If there is some stubborn dirt or grease, the APC will finish the cleaning of the wheels off nicely.

We use the EZ Detail set of wheel brushes to work the fallout remover and APC to remove the most amount of dirt possible from the wheel barrels and faces, before finishing the faces off with a detailing brush.
We reserve the Wheel Woolies brushes for finishing touches or lightly soiled wheels.
It’s always good practice to have a separate wheel wash mitt to give the wheel faces a light scrub and if you’re really keen get behind the wheel spokes.
Top tip;
Don’t forget to scrub your tyres with the fallout remover and all purpose cleaner. Having a separate stiff tyre brush is recommended.
Step 4: Safe Contact Wash
Now you've pre-washed, snow foamed, rinsed, and cleaned the wheels, you’re ready for the contact wash. Don't be afraid to give your paint a quick secondary rinse if it's dried a little, this will help.

Choose your shampoo wisely.
There are lots of products on the market that have certain benefits and drawbacks, we aren’t going to cover all of them but choosing a high quality shampoo is easy and we will give you our top recommendations.
#1 Gtechniq G-wash - epically sudsy, slick and coating friendly with a great smell.
#2 Bilt Hamber Auto-Wash - effective cleaning power and high foaming which will leave a mild water repellent finish.
#3 Meguiars Gold Class - creates a luxurious lather, offers a great clean for your paintwork, and it’s readily available at your local Halfords or Eurocarparts store.
The two-bucket method is a great way to ensure you’re protecting your paintwork. Your wash bucket should be filled with warm soapy water, drop 3-5 caps of G-wash in your bucket and foam it up. The rinse bucket consists of clean warm water so you can rinse your wash mitt between sections. Each bucket should have a grit guard at the bottom to separate dirt particles, which stops them revisiting your paintwork.
My dad always told me to start at the top of the car and, although that was a long time ago, nothing has changed. Dunk your mitt in the sudsy, soapy water and with light pressure and horizontal movements wash your car in sections at a time.
How big a section you wash at a time depends on how dirty your car is. For example, we typically break bonnets down in to four sections, this allows us to rinse the mitt and getting some fresh soapy water before starting the next section.
Circular movements wont help you here, keep it horizontal and if in doubt rinse the mitt more often, especially on the dirty sides and rear of the car. Keep the lower parts of the car until last.
Once you’ve cleaned the entire surface area of the car, get your pressure washer out and rinse the suds off the car to reveal a beautiful cleaned surface.
Top tip;
Make sure you’ve thoroughly rinsed the car, not leaving any shampoo.
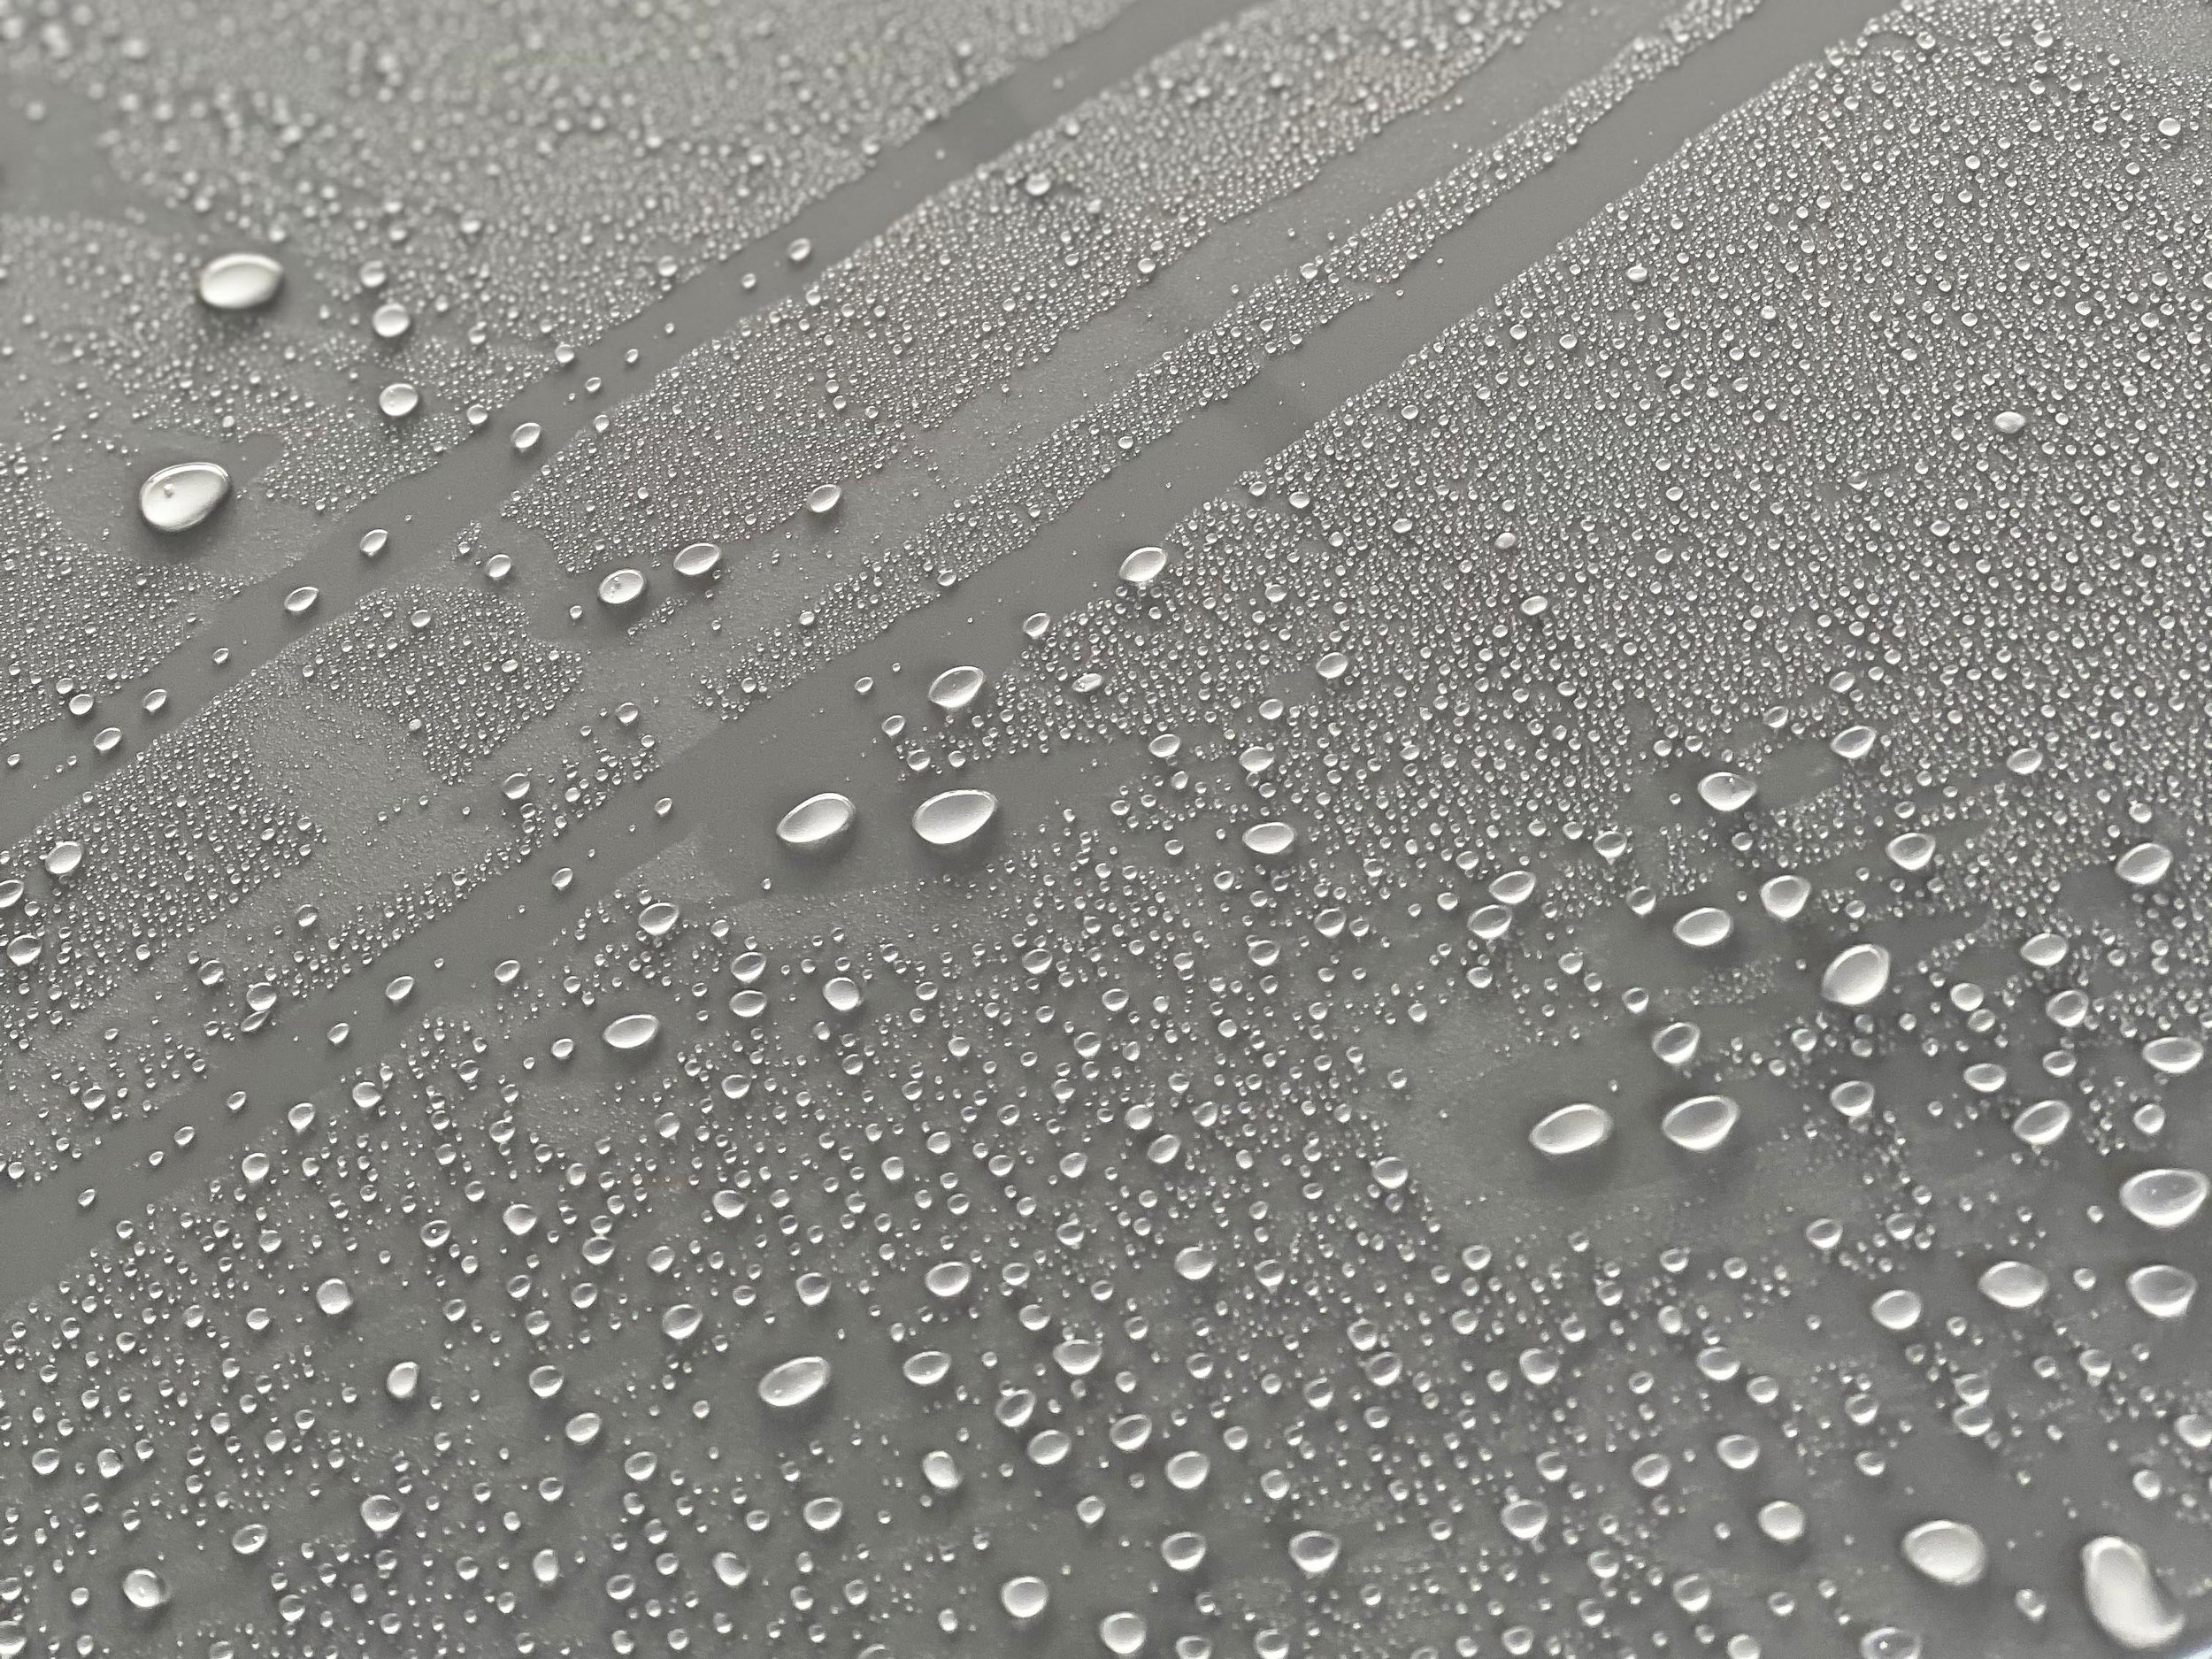
And if you’ve got a Ceramic Coating, take a moment to check out the hydrophobic beading.
Step 5: Drying and Applying Spray Sealants
There are lots of methods for drying your car once you’ve completed the safe washing process, but there are ways you shouldn’t dry your car, so lets start with that. We still see chamois leather towels being used to dry cars and this isn’t something we recommend. Times have changed and more advanced products are now available. From microfibre drying towels designed to soak up huge amounts of water, to professional blow drying tools that enable contactless drying, there are now brilliant ways to dry your car.
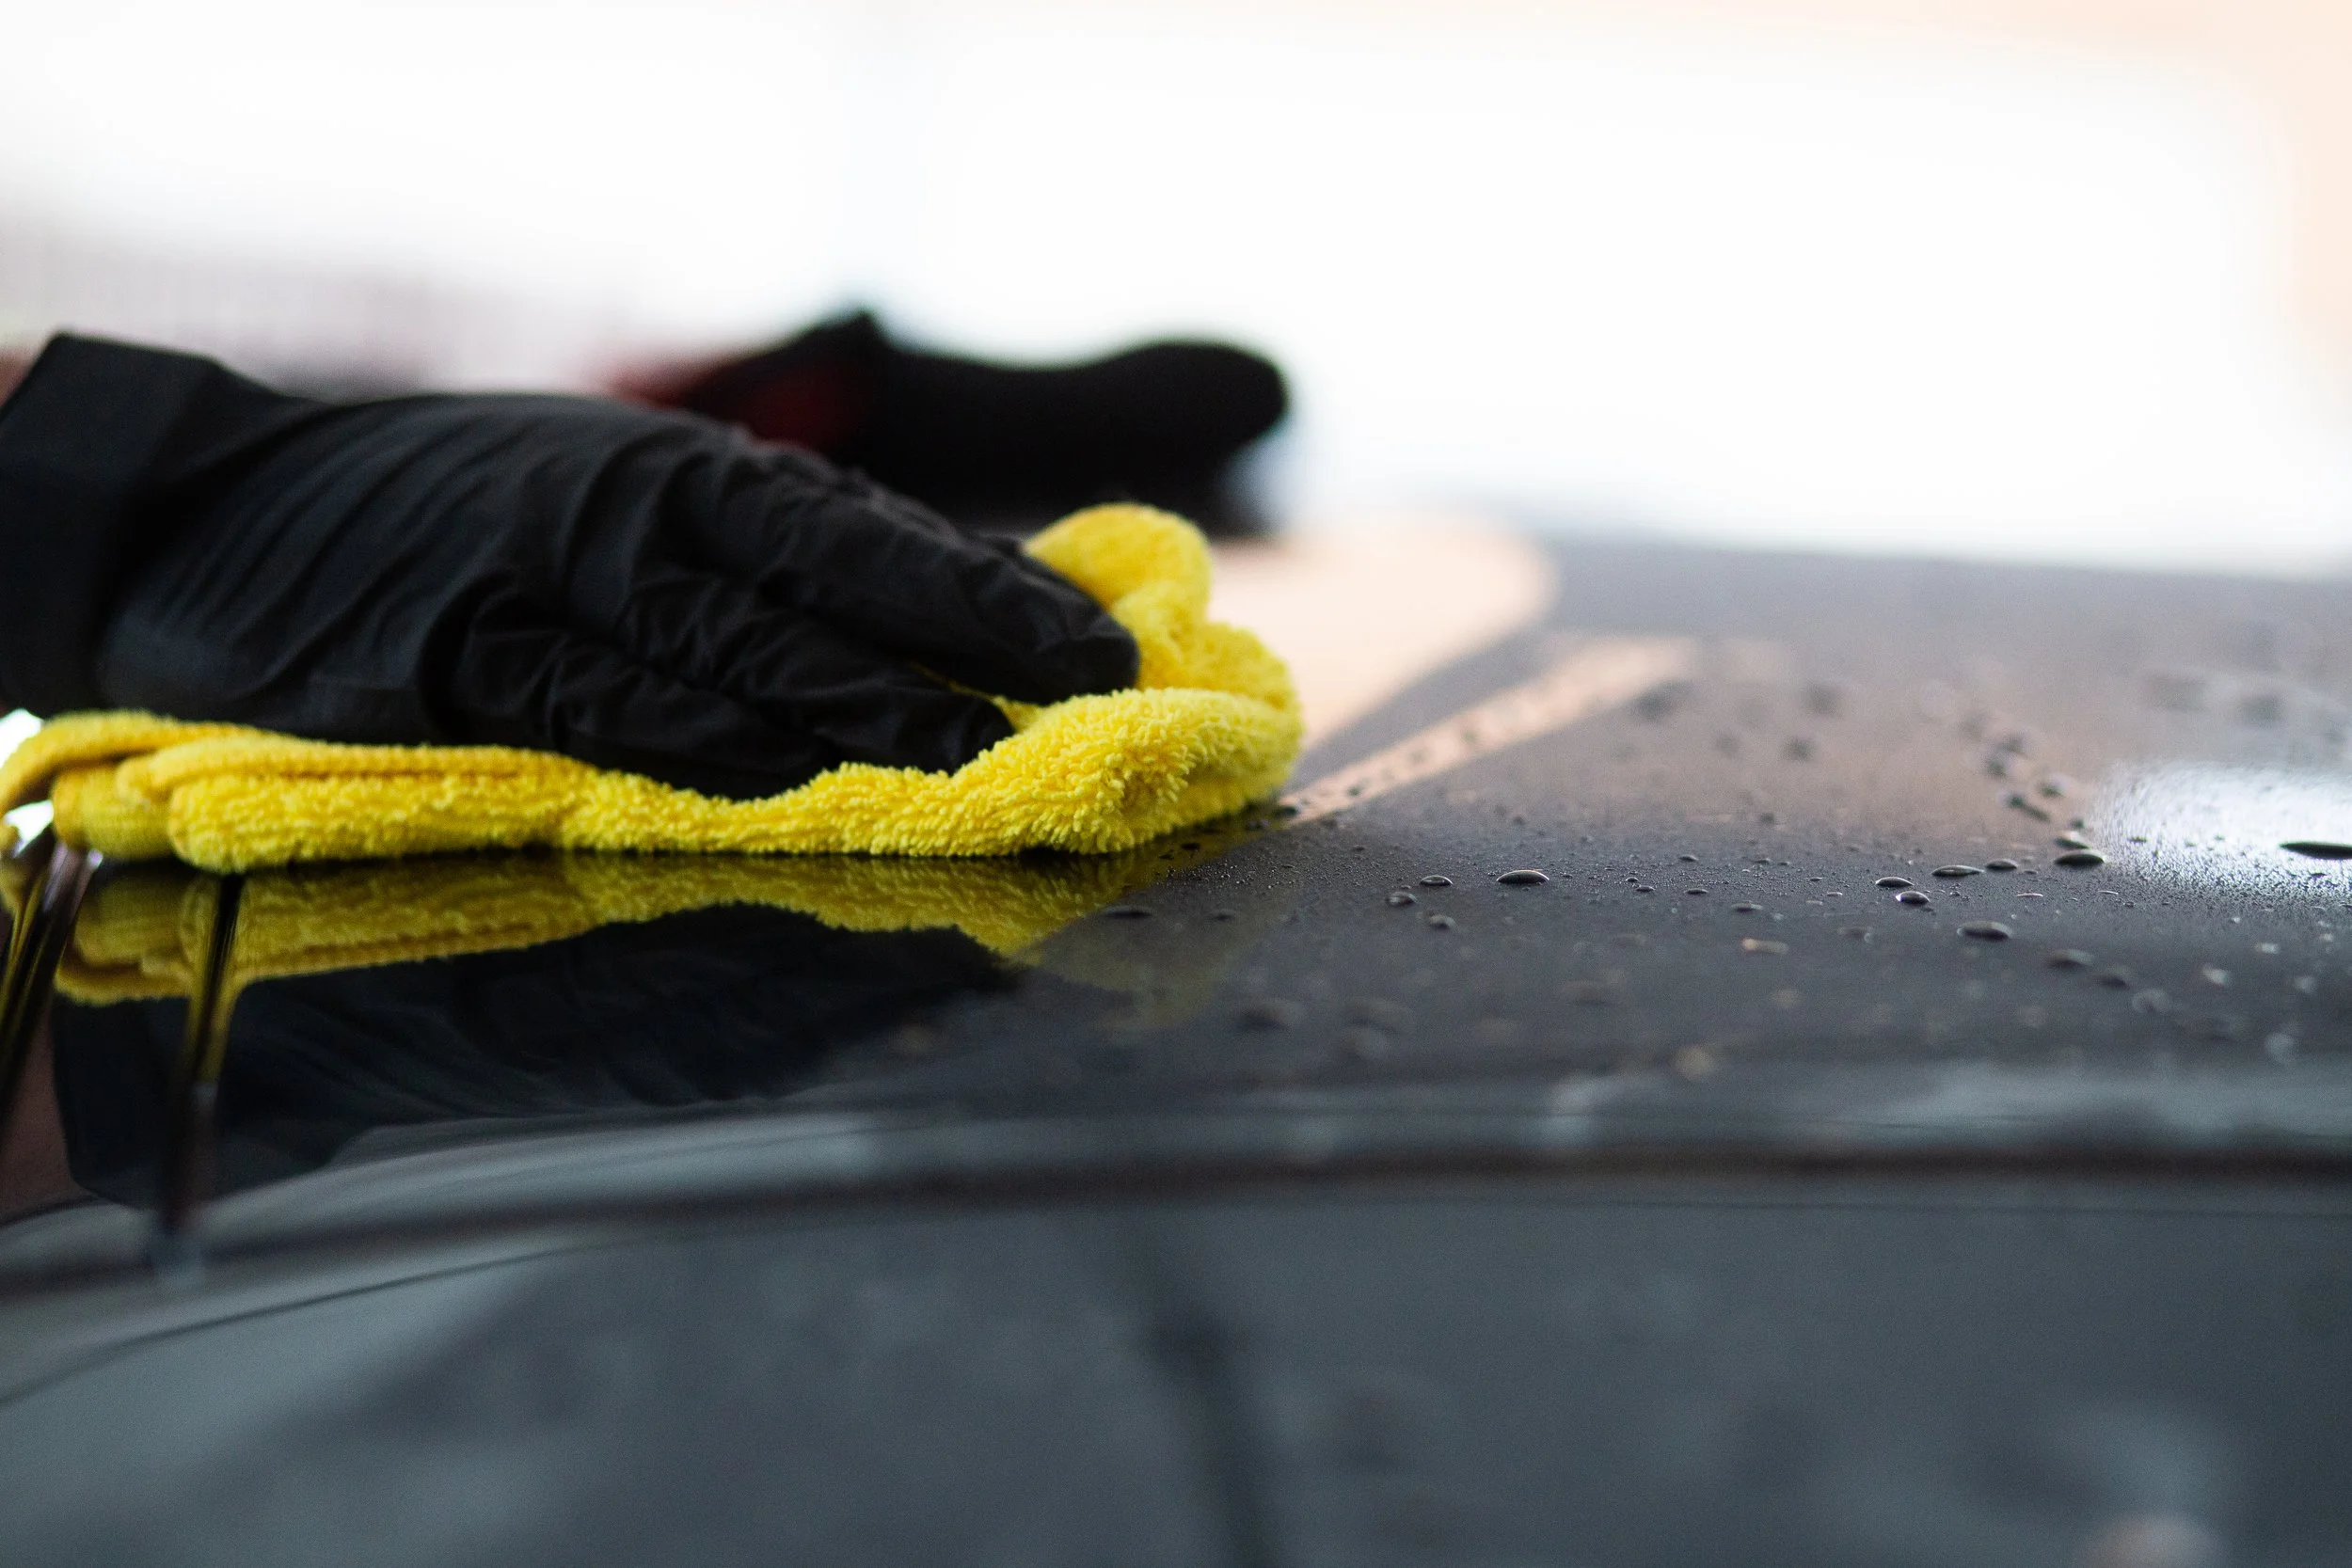
The first method of drying is the microfibre towel, there are lots of super plush, highly absorbent towels from Auto Finesse, EZ Car Care and the rest that will soak up water and leave a dry finish. Much like cleaning we recommend starting from the top of the car and moving to the lower areas of the car. These towels make the drying of the car easy, no or little pressure is required.
Another method of drying a car is contactless, by using car dryers such as the BigBoi touchless car dryer you don’t need to touch your car again once cleaned and rinsed. This eliminates the chance of scratching paintwork in the drying stage. A filtered, powerful blast of air forces the water from paintwork, trims, grilles and side mirrors to leave you with a dry finish without the water spots. This method really works well on ceramic coated vehicles, the hydrophobic, slick nature of these coatings makes it even easier to dry as the water glides off the car.
My Five Tips to Help You Safely Wash Your Car
Tip 1; Always pre-wash, preferably with a powerful thick foam. We find it best to apply snow foam to a dry car to allow for longer snow foam dwell time.
Tip 2; Don’t wash your car in direct sunlight. Sunlight softens the paintwork on your car, meaning your more likely to leave marks, scratches and swirl marks in your paintwork after a wash.
Tip 3; Fairy liquid isn’t safe to use on your car when cleaning. Fairy will break down waxes, sealants and protective layers leaving exposed paint that’ll get dirty, faster. Fairy is great for dishes, not your pride and joy.
Tip 4; Traffic Film Remover (TFR) contains acid, this will soften your paintwork before you clean it.
Tip 5; The two bucket method is just the start to your safe wash journey
If you want to make washing your car easier, ceramic coatings are the right choice for you. Check out our ceramic coating packages out here.
For some, wax coatings or maintaining paintwork sealants is part of their enjoyment of owning a car. I totally get that, nothing beats a Sunday wash and wax. We offer services that can prepare your paintwork for the wax or sealant of your choice, but we can also apply it for you.